

Understanding how to enhance your lips starts with embracing your natural shape and learning how to make the most of it. Lip makeup isn’t one-size-fits-all—what flatters one person may not work the same way for another. Whether your lips are naturally full, thin, wide, or asymmetrical, the right techniques can bring out your most balanced, beautiful look. The trick lies in adjusting your liner, lipstick, and gloss application to harmonize with your features. It’s not about changing your lips—it’s about enhancing what’s already there. With the right shading, blending, and product placement, you can achieve a more defined, fuller, or more even look in just minutes. These 12 flattering lip makeup techniques are curated specifically for a variety of mouth shapes, helping you master the art of lip enhancement no matter your starting point. Each approach is a blend of technique and artistry designed to empower you to feel confident, expressive, and entirely yourself.
1. Balanced Lip Enhancement for Symmetrical Lips
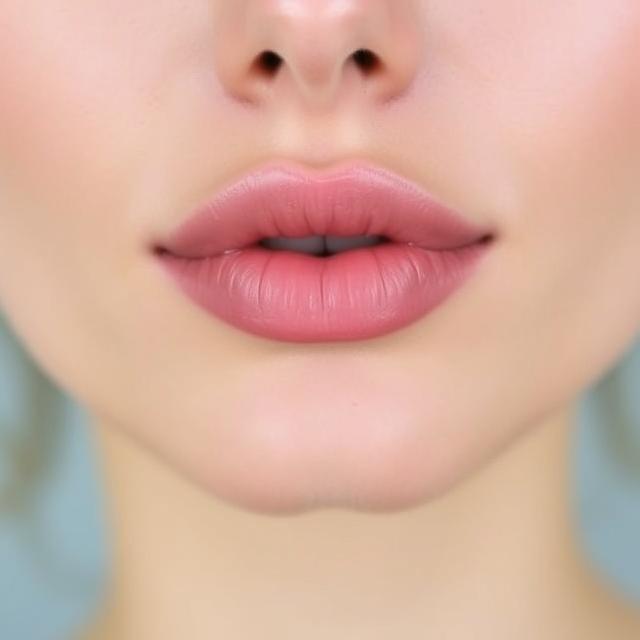
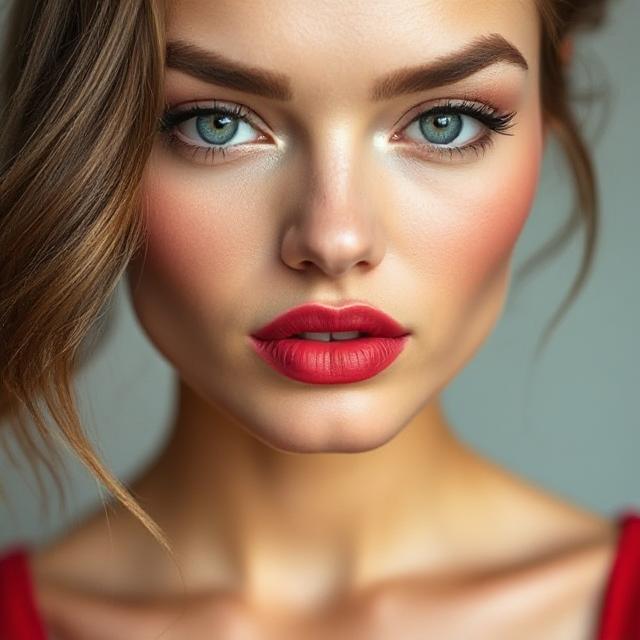
If your lips are naturally symmetrical, you’ve won the genetic lottery in terms of balance—but that doesn’t mean you can’t amplify their beauty. For symmetrical lips, the goal is to preserve that perfect proportion while adding more color, dimension, and polish. Begin by lining just outside your natural lip line using a pencil that closely matches your lipstick. This step helps emphasize your natural shape without exaggeration. A subtle ombré effect works especially well—try filling in the outer corners with a deeper shade and keeping the center lighter to create a soft gradient. Matte lipsticks can highlight symmetry, while gloss applied to the center of the lips adds fullness. Avoid overly harsh lines that can disrupt balance. Symmetrical lips give you the freedom to explore nearly every trend—bold reds, moody berries, or soft pinks—because your shape supports them all. The key is to maintain your natural proportions while playing with color and texture to keep your look fresh and flattering. You don’t need to overcorrect or reshape—just accentuate the harmony you already have, and let your lips take center stage effortlessly.
2. Fuller-Looking Lips for Thin Mouths
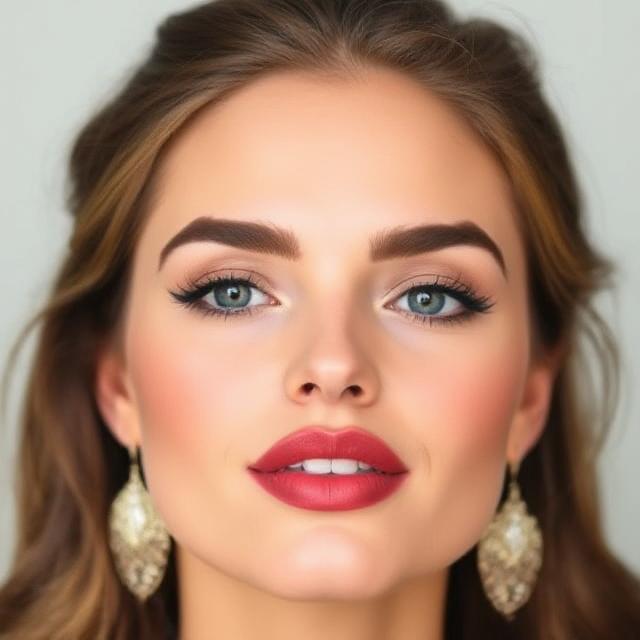
For naturally thin lips, the goal is to subtly increase the visual volume without it looking overdrawn. Start with a nude or rose-toned lip liner that’s one shade darker than your lipstick. Carefully overline just the cupid’s bow and the center of the lower lip, keeping the corners within the natural boundaries to avoid a clownish look. Choose a creamy or satin finish lipstick, as these textures reflect light and add softness. After applying your base color, dab a bit of a lighter lipstick or gloss in the center of both the top and bottom lips to create the illusion of plumpness. Steer clear of very dark colors, which can make thin lips look even smaller. Instead, opt for medium to light tones—peachy pinks, soft corals, and gentle mauves can add dimension and youthfulness. You can also apply a touch of highlighter on your cupid’s bow to draw more attention upward. This technique doesn’t require injections or fillers—just thoughtful product placement and a soft gradient effect that opens up the lips visually, making them appear naturally fuller and beautifully enhanced.
3. Harmonizing Makeup for Top-Heavy Lips
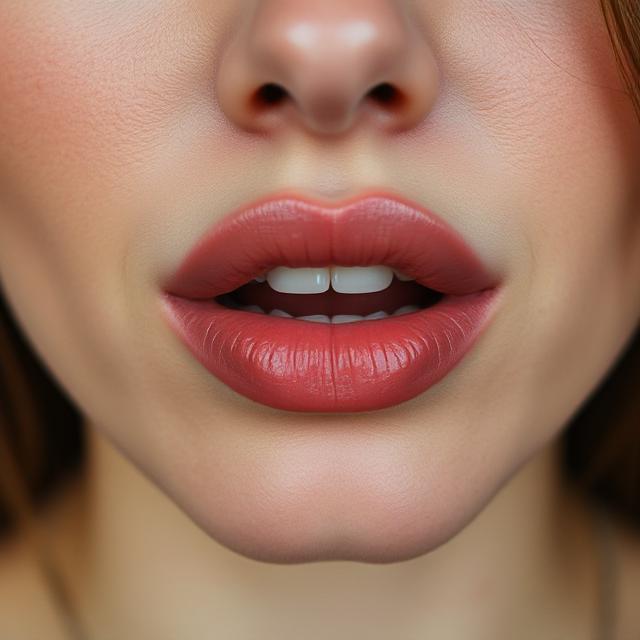
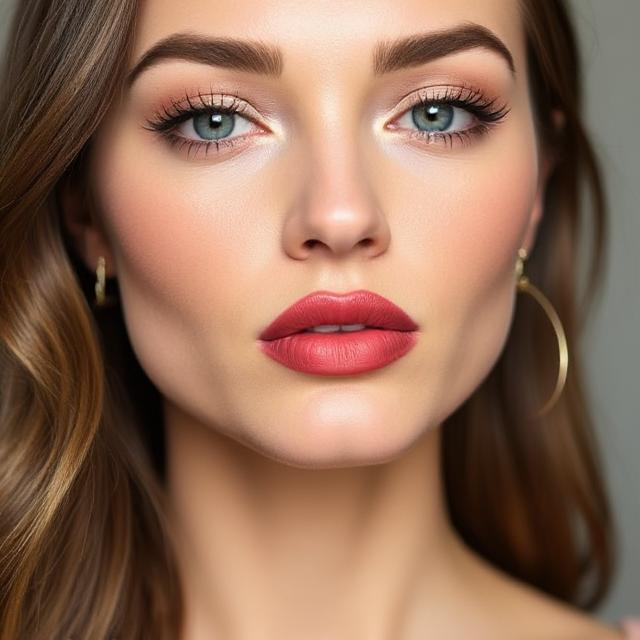
Top-heavy lips, where the upper lip is significantly fuller than the lower one, benefit from techniques that balance the proportions without masking their natural allure. The key is to create the illusion of an equally voluminous lower lip while toning down the top just slightly. Begin by defining the lower lip with a lip liner, slightly overdrawing only at the center to give it a fuller base. Avoid overdrawing the upper lip—just trace the natural shape to maintain structure. Choose lipsticks with a satin or creamy finish, and apply more product to the bottom lip than the top. To enhance the balancing effect, add a dab of gloss or shimmer only to the center of the lower lip. Color selection matters here—stick to medium shades rather than very dark or overly bright colors that might make the top lip more dominant. Using a slightly deeper shade on the bottom and a lighter touch on top can also visually adjust the balance. This technique allows you to maintain your signature full upper lip while bringing equilibrium to the overall look—resulting in harmony, not hiding.

4. Soft Definition for Bottom-Heavy Lips
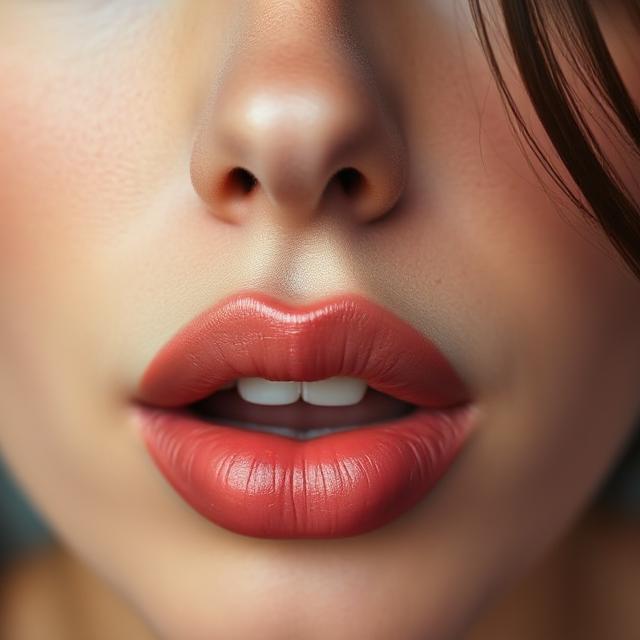
If your lower lip is naturally fuller than the upper, lip makeup can be your secret weapon for restoring visual balance. The idea is to build up the upper lip slightly while softening the lower one. Start by carefully outlining just outside the upper lip’s natural border using a lip pencil that matches your lipstick shade. Avoid overlining the bottom lip—trace it directly on the natural line. Choose lip colors in warm or neutral tones that offer medium coverage and are not overly glossy. When applying lipstick, concentrate more product on the top lip, blending it slightly above the edge for fullness. Then use a tissue to blot the bottom lip or apply a hint of concealer to tone down its prominence. Adding a tiny bit of highlighter or gloss to the cupid’s bow gives the illusion of a lifted upper lip. This approach doesn’t erase your natural volume—it simply redistributes the visual emphasis. With a touch of balance, your lips will look even more elegant and refined, highlighting their beauty without drawing attention to any disproportion.
5. Enhancing Small Lips with Smart Contouring
Small lips can pack a lot of charm, and with the right contouring, you can amplify their presence dramatically. Begin with a lip liner that’s close in tone to your natural lip color or lipstick, and gently overline just above the cupid’s bow and the bottom center. Use a slightly deeper liner at the corners to add structure and then fill in with a creamy lipstick in a soft, bright shade like rose, peach, or coral. Gloss can be a game-changer—apply it only to the center of your lips to create depth and draw attention to their fullest point. Avoid matte finishes, which can flatten your look, and instead go for satin or glossy textures that reflect light. A subtle highlight above the cupid’s bow and a touch beneath the bottom lip’s center can create even more definition. This technique creates a three-dimensional effect that enhances your natural features without overdoing it. The result is a fresh, youthful, and radiant lip look that stands out without appearing artificial—making your petite pout a major focal point.
6. Softening Wide Lips with Strategic Shaping
Wide lips often bring a striking presence to the face, but if you’re looking to soften or slightly narrow their appearance, the right lip makeup technique can work wonders. Start by focusing your application toward the center of your mouth, keeping the outer corners more subdued. Use a lip liner to define just inside the edges of your natural lip line—especially near the corners—to create the illusion of a slightly smaller width. Select medium to deep shades with neutral undertones to draw attention inward, avoiding bright or ultra-light hues that can exaggerate the mouth’s horizontal span. When applying lipstick, concentrate the color more heavily at the center of both lips and gently fade it as you reach the corners. Gloss should also be kept central to enhance this effect. A bit of highlighter on the cupid’s bow will bring focus upward, and pairing your look with well-balanced eye makeup can shift attention higher on the face. These small tweaks allow wide lips to appear more proportionate and refined while still celebrating their naturally full and expressive shape in a way that feels soft, graceful, and flattering.

7. Evening Out Uneven Lips with Precision Lining
Asymmetrical lips—where one side is fuller or shaped differently than the other—can be easily balanced using lip liner and a few subtle techniques. Begin by identifying which areas need to be corrected, usually one corner or side being less defined or smaller. Use a steady hand and a well-sharpened liner to lightly overdraw the thinner or shorter side of the lips, keeping the other side aligned with the natural contour. Match your liner to your lipstick shade to create a seamless blend that won’t reveal the adjustments. Apply your lipstick starting from the center and blend outward, using a lip brush for extra control. Satin and semi-matte finishes work best for minimizing imperfections, as glossy or very matte finishes can draw attention to irregularities. Avoid overly bold colors if you’re not confident in your shaping—neutral pinks, mauves, or brick tones offer great coverage while remaining forgiving. When done right, the effect is subtle but transformative, enhancing symmetry and boosting your overall facial harmony. With just a few smart tweaks, you can feel more confident wearing any lip color and know your smile looks balanced from every angle.
8. Defining a Faded Lip Line with Sharp Edges
Some lips have a naturally diffused or fading border, making the overall mouth shape look less defined. To bring clarity and boldness back to your look, lip liner is your best tool. Choose a liner that matches your lipstick shade as closely as possible—if your natural lip tone is especially light, a slightly darker neutral shade may help frame the lips more effectively. Start by outlining the entire lip line, giving extra definition to areas where the edge is less visible. Don’t overdraw unless you’re specifically going for a plumper effect—focus on crisp, clean lines that reestablish the mouth’s contour. After lining, fill in the lips with a coordinating lipstick and use a brush to refine the edges. Matte and satin formulas tend to hold their shape longer and reinforce the sharpness of your work. If needed, clean up the perimeter with a tiny brush dipped in concealer for an ultra-crisp finish. This technique brings the lips back into sharp focus, defining their shape and making even the most understated colors stand out with confidence. It’s about reclaiming structure while keeping your overall look natural and polished.

9. Highlighting a Full Cupid’s Bow for a Heart-Shaped Look
If you have a prominent cupid’s bow—the curved dip at the center of the upper lip—this feature can be turned into your signature by emphasizing its heart-like quality. Begin with a lip liner that’s just a touch deeper than your lipstick. Carefully trace the peaks of the cupid’s bow, exaggerating them slightly if you want to play up the heart-shaped effect. Follow the natural curve around to complete the outline, then fill in with a creamy lipstick in a flattering tone like rose, berry, or nude. Use a highlighter pencil or a small dab of shimmer right at the center of the cupid’s bow to catch the light and make this feature pop. A dot of gloss in the middle of the lower lip enhances the three-dimensionality of the look, further framing the upper lip’s shape. Avoid overly glossy or very matte finishes all over, as they can diminish the effect—go for satin or semi-lustrous textures that complement the soft contouring. This approach transforms a naturally full cupid’s bow into a standout element, lending charm and elegance to your smile.
10. Balancing a Downturned Mouth for a Lifted Effect
Lips with downturned corners can create an unintentionally serious or tired expression, but the right lip makeup can lift your whole appearance. The key is to subtly redirect the corners upward while enhancing the central lip area. Start with a liner that matches your lip tone and sketch the lip line slightly above the natural edges at the outer corners, tapering the line upward. Keep the rest of the outline close to the natural shape to preserve overall harmony. A soft, bright lipstick with a satin finish helps reflect light and add life. Avoid dark, flat colors that might exaggerate the downturn. Once the lipstick is applied, use a small brush with concealer to clean up the edges and further lift the outer corners visually. Adding a touch of highlighter on the cupid’s bow and just below the lower lip’s center brings even more upward light reflection. This technique subtly reshapes your smile and brightens your entire look. It’s not about changing who you are—it’s about adjusting a few strokes to give you a more open, welcoming, and confident expression.
11. Sculpting Undefined Lips with Gradient Depth
If your lips tend to look flat or lack dimension, a gradient effect—also known as ombré lips—can work wonders by adding depth and structure. Start with a lip liner that’s a few shades darker than your lipstick. Line the entire perimeter and gently blend the color inward using a lip brush. Then apply a slightly lighter or brighter lipstick shade to the center of the top and bottom lips, blending it outward toward the liner to create a seamless fade. This contouring trick makes lips appear fuller and more sculpted without the need for overlining. Gloss in the center can heighten the effect if you want more volume. Neutral to mid-tone colors—like dusty rose, warm mocha, or coral—tend to work well for this technique. Avoid using only one flat color across the entire lip, as it can exaggerate the lack of structure. The gradient look mimics the way natural shadows fall on the lips, giving the illusion of curvature and fullness. It’s a subtle but high-impact way to elevate your lip game, making every pout look intentionally crafted and incredibly alluring.

12. Amplifying Naturally Full Lips Without Overpowering
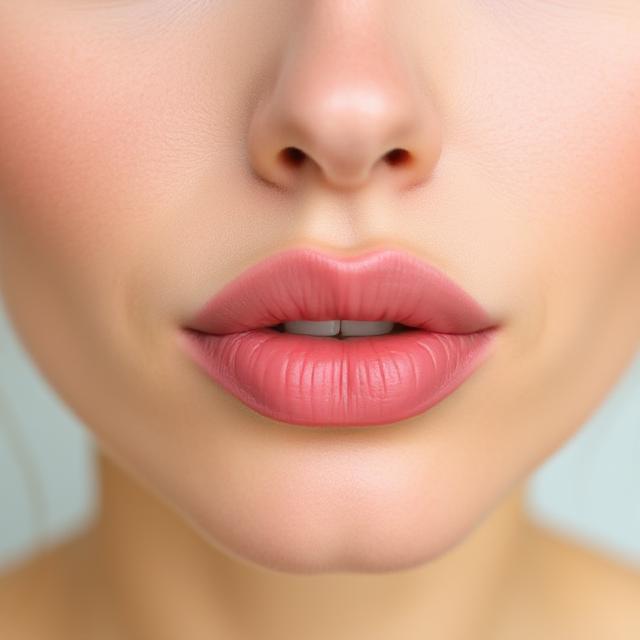
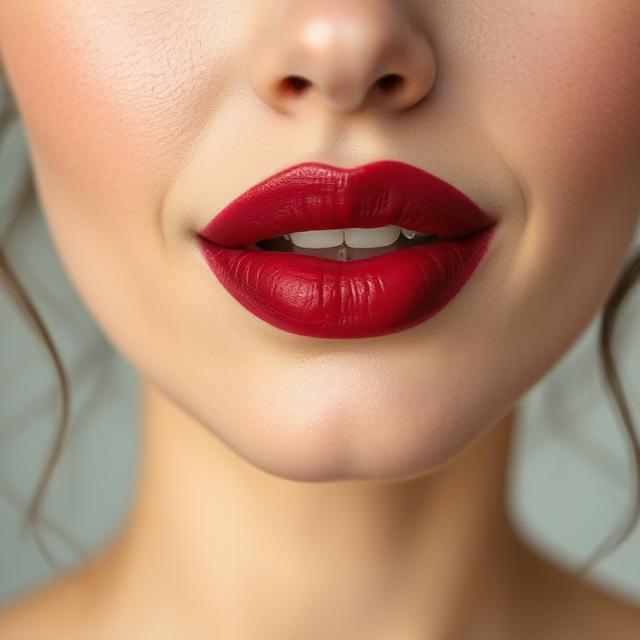
Full lips are a blessing, but makeup application should focus on enhancing them tastefully without making them feel overdone. Begin by using a lip liner in the same tone as your lipstick to define the outer edges and prevent feathering. You don’t need to overline—just tracing your natural shape will provide plenty of drama. When it comes to color, bold hues like crimson, wine, and deep plum are stunning, but balance them with a precise application and clean edges. Avoid overly sticky glosses that can make full lips look too bulky or distract from their natural symmetry. Instead, reach for velvety mattes or creamy finishes that hold pigment well. If you want a little extra pop, apply a dab of highlighter on the cupid’s bow and a subtle gloss at the center of the lower lip to draw light. Keeping the rest of your makeup balanced is also key—soft eye makeup or clean brows can keep your look from feeling top-heavy. This technique ensures your full lips remain your best feature without overwhelming your face, letting your confidence and natural beauty shine through.
When it comes to lip makeup, there’s no single “right” way—only the way that works best for your unique features. By tailoring your techniques to your lip shape, you not only enhance your look but also embrace what makes you distinctive. Whether you’re seeking symmetry, volume, definition, or balance, the right method can elevate your natural beauty in powerful ways. Makeup should never feel like a mask—it’s an expression of self that celebrates your individuality. With the right tools, textures, and a little creativity, your lips can become a canvas of color, character, and charm. So explore freely, try something new, and enjoy the confidence that comes from knowing exactly how to flatter your features—one lip look at a time.
