Achieving radiant, glowing cheeks that stay fresh and vibrant all day long is one of the most sought-after makeup goals, yet it often feels elusive or difficult to master. The cheeks are central to creating a youthful, healthy appearance—they can instantly lift the face, add warmth, and enhance your overall complexion. However, the challenge lies not just in applying color, but in making sure it lasts from morning meetings to late-night dinners without fading, smudging, or turning patchy. Many people struggle with this because they don’t have the right preparation techniques, product choices, or application methods. Environmental factors like heat, humidity, dryness, or oily skin can also wreak havoc on cheek makeup, causing it to wear unevenly or disappear entirely by midday. But the truth is, achieving long-lasting, radiant cheeks is not just about luck or expensive products—it’s about mastering a series of essential steps that combine skincare, product selection, and skilled application. This comprehensive guide will take you through twelve quick, proven tricks to perfect your cheek makeup and keep it glowing all day. These tips are tailored for all skin types and tones, ensuring everyone can find strategies that work best for them. From starting with optimal skin hydration, to choosing formulas based on your skin’s unique needs, to smart layering and blending techniques, these steps will help you transform your routine. You’ll also discover expert advice on color correcting, highlighting, and refreshing your look throughout the day to maintain that fresh “just applied” effect. Incorporating these tips into your daily beauty ritual will not only enhance your natural beauty but also boost your confidence, knowing your cheeks look flawless and radiant no matter the occasion or length of wear. Let’s dive deep into each step so you can create a radiant, enduring cheek look that truly shines.
1. Start with a Moisturizing Base: The Foundation of Long-Lasting Cheek Makeup
Proper skin preparation is the absolute cornerstone of radiant, all-day cheek makeup. When your skin is dry, flaky, or unevenly textured, makeup tends to cling to imperfections and fade unevenly, leaving you with patchy, dull-looking cheeks. To prevent this, begin your routine by cleansing and thoroughly moisturizing your face, focusing particularly on the cheek area. Use a moisturizer suited to your skin type—for dry skin, richer creams with hydrating ingredients like hyaluronic acid, glycerin, and ceramides help lock in moisture and create a plump surface. For oily or combination skin, lightweight, non-comedogenic gels or lotions keep the skin hydrated without excess oiliness, balancing the skin’s natural sebum production. After moisturizing, applying a primer designed for your skin type can further improve makeup adhesion. Primers with silicone-based ingredients create a smooth barrier, filling in fine lines and pores, while hydrating primers infused with botanical extracts nourish the skin and improve texture. This two-step hydration and smoothing system ensures your blush and highlight will apply evenly and blend seamlessly, reducing the risk of dry patches or makeup slipping off oily zones. Spending time on this crucial step pays off immensely by extending wear time and maintaining the vibrancy and freshness of your cheek color from the first brushstroke to the last hour of the day.

2. Use a Color Corrector for Discoloration: Creating a Flawless Base for Your Blush
Uneven skin tone on the cheeks—whether caused by redness, broken capillaries, post-acne marks, or pigmentation—can interfere with how your blush appears and performs. If blush is applied over redness, it may look blotchy or the color can shift, diminishing the natural flush effect you want. To combat this, introduce a color corrector into your routine before foundation and blush. Green color correctors are excellent for neutralizing redness, while peach or orange correctors help brighten dark spots or dull areas, especially under the eyes or on the cheeks. Apply a very small amount of corrector with your fingertip or a damp sponge, gently patting it into the affected areas. The key is blending thoroughly to avoid harsh edges and to create an even, natural base for your blush. Once your color correcting step is complete, proceed with foundation and concealer as usual. This method not only allows your blush to appear true-to-color but also improves the overall complexion, creating a balanced and flawless canvas that enhances the blush’s vibrancy and longevity. Those prone to rosacea, pigmentation, or sensitive skin will find this step particularly transformative, as it prevents the common issue of blush fading or looking uneven due to underlying skin tone inconsistencies.

3. Choose the Right Blush Formula for Your Skin Type: Tailoring Your Product for Maximum Impact
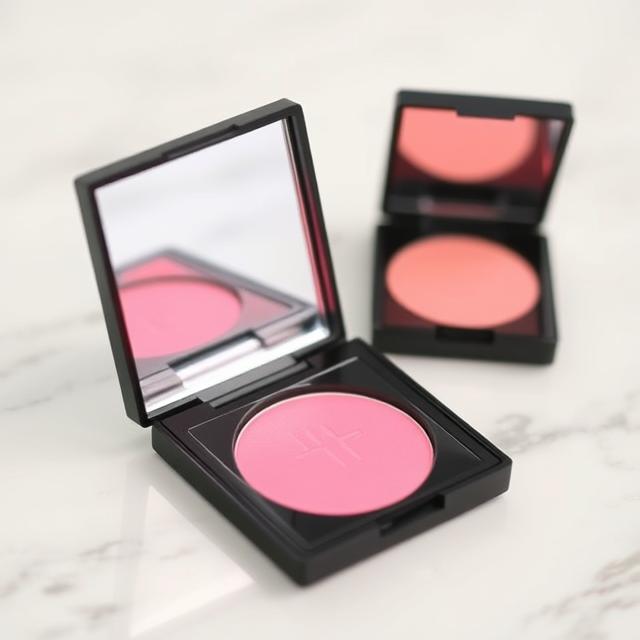
Blush formulas come in various textures—powders, creams, gels, liquids, and sticks—and the right choice depends heavily on your skin type and desired finish. Cream blushes are a top pick for dry and mature skin because they add an extra layer of hydration and give a radiant, natural glow. Their emollient texture blends effortlessly with skin oils and moisturizers, making them look like a natural flush from within rather than a layer of makeup sitting on top. These blushes often contain nourishing ingredients like jojoba oil or vitamin E, which help smooth the skin’s surface and prevent dryness throughout the day. Powder blushes are the go-to for oily and combination skin types because they absorb excess oil and reduce shine. They tend to last longer on the skin without breaking down or sliding off and come in matte and shimmer varieties, allowing for flexible finish options. Liquid and gel blushes combine the best of both worlds, offering sheer, buildable coverage that can be intensified as desired. They tend to have a lightweight feel and dry down to a natural finish that resists smudging. Stick blushes offer convenience and ease of use with a creamy texture, but should be blended quickly to avoid streaks. Knowing your skin type and selecting the right formula will not only make your blush look more natural but also dramatically increase how long it stays fresh and radiant.
4. Apply Blush with a Light Hand: The Art of Subtle Layering and Blending
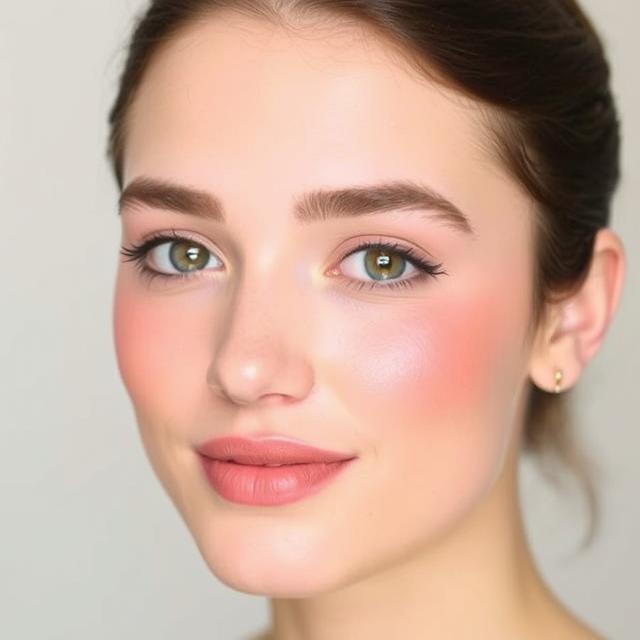
When it comes to applying blush, starting with a light hand is critical to achieving a natural and flattering look. Applying too much product at once can overwhelm your face, look unnatural, and require constant touch-ups. Instead, use a fluffy brush, a soft beauty sponge, or your fingers to pick up a small amount of blush and apply it gradually. Focus on the apples of your cheeks—the rounded area that naturally flushes when you smile—and gently sweep the color upward along your cheekbones toward your temples. This upward motion visually lifts the face and prevents the blush from dragging downward, which can age the appearance. Using circular motions to blend the blush into your skin helps avoid harsh lines or uneven patches. Blending is one of the most important skills for cheek makeup: a well-blended blush looks like a natural flush caused by good health or fresh air, rather than makeup. By layering small amounts of color and blending after each application, you gain full control over the intensity and shape of your cheek color, ensuring it enhances your features without overpowering them. This technique also makes your blush wear longer because heavily applied, thick patches tend to fade or smear faster.
5. Layer for Longevity: Combining Different Textures for Maximum Staying Power
To make your blush last all day, layering different textures is an expert beauty hack that can’t be overlooked. Start with a cream or liquid blush as your base—these formulas sink into the skin and provide hydration and a dewy glow that looks incredibly natural. After the cream has set, lightly dust a powder blush in a similar shade over it. The powder locks in the cream blush, preventing it from moving, fading, or smudging throughout the day. This layering technique also adds dimension and depth to your cheeks, making the color richer and more multi-dimensional. Make sure to blend each layer thoroughly to avoid a cakey or chalky appearance. Using this method, your blush will maintain its vibrancy and shape even through heat, humidity, or long hours of wear. This trick is especially useful for special occasions like weddings, parties, or photo shoots, where you want your makeup to stay flawless from start to finish. Additionally, layering works well across seasons, adapting to different weather conditions and skin changes for consistent cheek color that doesn’t need constant reapplication.

6. Highlight Strategically: Enhancing Your Cheeks with the Perfect Glow
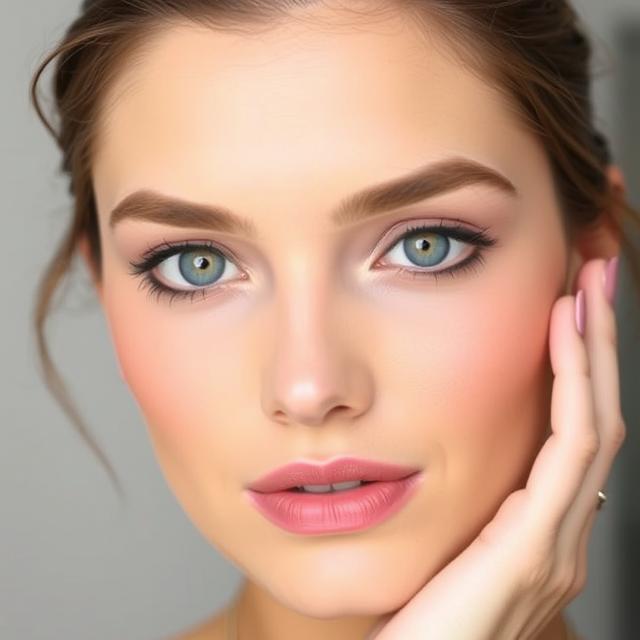
Highlighting is the ultimate finishing touch to radiant cheeks, adding dimension and luminosity that make your skin look healthy and youthful. To apply highlight effectively, focus on the highest points of your cheekbones—these areas naturally catch light and benefit from an extra glow. Choose a finely milled highlighter that complements your skin tone; champagne and soft peach shades are universally flattering, while golden or bronze tones add warmth to deeper skin complexions. Use a small fan brush or your fingertips to gently apply the highlighter, building up the intensity gradually. Avoid applying too much product at once, which can create a shiny or greasy appearance. Instead, aim for a natural-looking sheen that catches the light subtly as you move. Cream or liquid highlighters work well for dry or mature skin, as they blend seamlessly with moisturizers and cream blushes. Powder highlighters suit oily skin by providing a long-lasting shimmer without adding extra shine. Proper highlighting enhances your cheek structure, adds depth, and makes your face appear more awake and youthful.

7. Use Setting Spray to Lock Everything In: The Final Seal for Lasting Radiance
After you complete your cheek makeup, sealing it with a high-quality setting spray is one of the most effective ways to ensure it lasts throughout the day. Setting sprays help meld all your makeup layers together, creating a smooth, cohesive finish that resists fading, smudging, or melting. Look for formulas that offer hydration and skin-nourishing benefits to keep your cheeks looking fresh and dewy rather than dry or cakey. Spray a fine mist over your entire face from about 8-12 inches away, keeping your eyes closed to avoid irritation. The mist lightly settles your makeup, reducing powderiness and enhancing the natural glow of cream and powder blushes. Many modern setting sprays also contain ingredients that absorb oil, which is beneficial for those with combination or oily skin prone to shine. Using a setting spray consistently can significantly extend the wear time of your cheek makeup, giving you confidence that your radiant glow will remain intact even in challenging conditions.

8. Refresh Throughout the Day with Compact Products: On-the-Go Touch-Ups
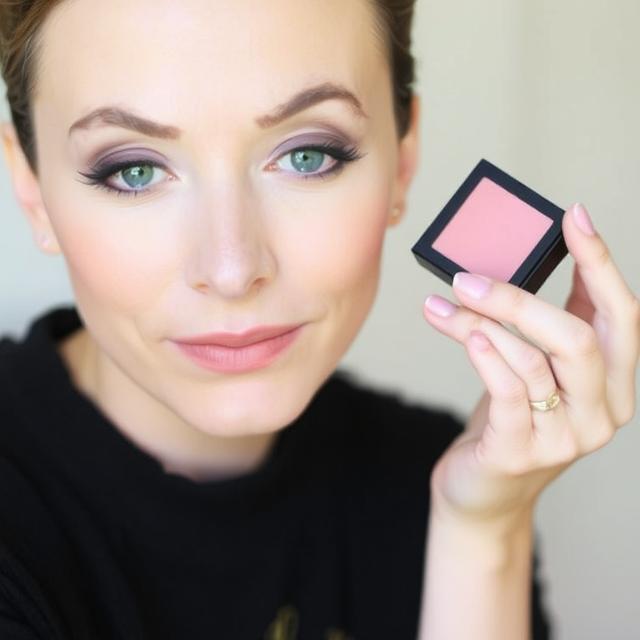
Even with the best preparation, there are times when your cheek makeup might need a little refresh after several hours. Carrying a compact blush or cream tint in your purse allows you to quickly touch up your cheeks without redoing your entire makeup. Powder blushes are easy to apply over a setting spray or blotting paper to revive color and absorb oil. Cream or liquid blushes can be lightly patted on with clean fingers or a sponge for a quick glow boost. When touching up, avoid applying thick layers to prevent cakey buildup. Instead, gently blend and diffuse the color for a natural effect. This simple habit keeps your cheeks looking fresh, healthy, and radiant throughout the day, especially during long workdays, social events, or travel. Regularly refreshing your blush helps maintain a youthful appearance and keeps your makeup from looking tired or faded.
9. Customize Your Blush Shade to Your Skin Tone and Occasion
Choosing the right blush shade can dramatically influence the overall impact of your cheek makeup. While there are universal colors that work for many, tailoring your blush shade to your specific skin undertone—cool, warm, or neutral—ensures the most flattering, radiant effect. Pink and rosy shades suit cool undertones, peach and coral tones complement warm undertones, and neutral undertones can play with a wider range of shades. Additionally, consider the occasion when picking your blush color. Subtle, muted shades work well for everyday or professional environments, while vibrant, deeper tones create a bold statement for evening or special events. Understanding which shades enhance your complexion helps your cheeks appear naturally flushed and radiant, making your entire makeup look more harmonious and sophisticated.

10. Blend Blush into Your Contour and Highlight for Seamless Dimension
To avoid harsh lines and unnatural makeup separation, blend your blush carefully into both your contour and highlight areas. Contouring adds shadow and shape, usually placed below the cheekbones, while blush adds color on the apples and highlighter adds light on the cheekbones. Seamlessly blending these three steps creates a beautiful, sculpted effect with soft transitions, making your face appear lifted and radiant. Use a clean, fluffy brush to gently sweep over the edges of your blush, merging it with your contour shade and highlight. This blending softens the edges and creates a gradient that mimics natural light and shadow on your face. The result is a multi-dimensional, professional finish that enhances your cheekbones and overall facial structure, contributing to a long-lasting, fresh appearance.
11. Adjust Your Application Technique Based on Weather and Activity
Environmental factors like humidity, temperature, and physical activity can affect how your cheek makeup wears. On hot or humid days, opting for powder blushes and mattifying primers helps control shine and prevents makeup from sliding off your face. In colder months, cream and liquid blushes add moisture and a dewy finish that combats dryness. If you expect to be active—exercising, dancing, or outdoors—consider using waterproof or long-wear formulas specifically designed to resist sweat and smudging. Adapting your cheek makeup routine to your daily environment and activities ensures your radiant look remains intact no matter what the day throws at you.
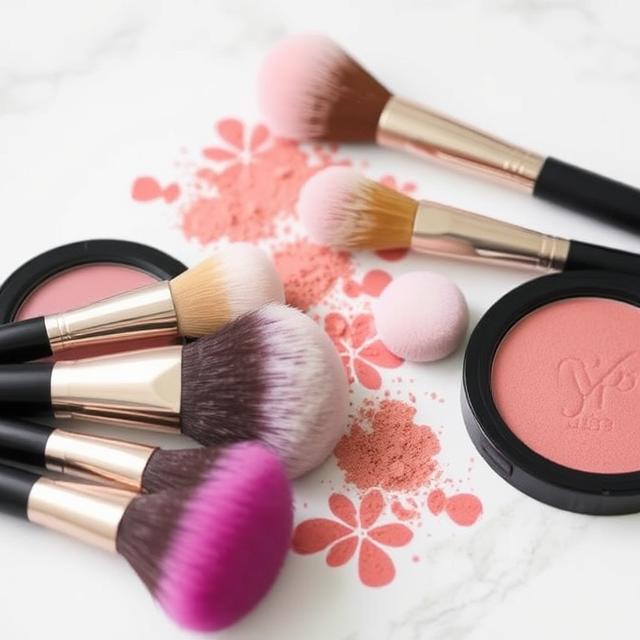
12. Invest in Quality Brushes and Tools for Perfect Application
Lastly, the tools you use can make a huge difference in how your blush applies and lasts. High-quality brushes with soft, densely packed bristles provide better control and more even distribution of product. A fluffy blush brush works well for powders, while a dense, angled brush or beauty sponge is ideal for creams and liquids. Regularly cleaning your brushes prevents product buildup and bacteria, which can impact makeup application and skin health. Investing in good tools and maintaining them ensures your blush looks smooth, natural, and long-lasting every time you apply it.
Incorporating these twelve detailed, expert-backed cheek makeup tricks into your beauty routine will transform how your blush looks and performs, giving you a radiant, fresh, and youthful appearance that lasts from dawn till dusk. These tips cater to all skin types and lifestyles, ensuring your cheeks remain glowing and perfectly colored throughout any day or event. With practice and the right products, you’ll master a cheek makeup routine that enhances your natural beauty and boosts your confidence like never before.