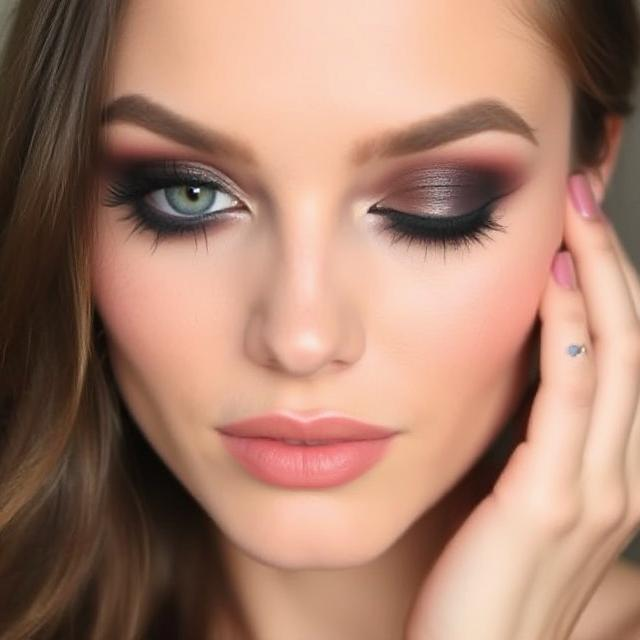
The Dramatic and Smoky eye makeup look is a timeless and versatile style that can transform your eyes, giving them a dramatic and sultry appearance. Whether you’re preparing for a night out, a special event, or just want to elevate your everyday makeup, a smoky eye can make a bold statement. This makeup technique is known for its deep, smudged eyeshadow and intense eyeliner, creating a mysterious, seductive look. While it may seem intimidating at first, with the right steps and tools, you can easily master the smoky eye look at home. In this tutorial, we’ll walk you through 7 essential steps to achieve a flawless Dramatic and Smoky Eye Look.
1. Prep Your Eyes
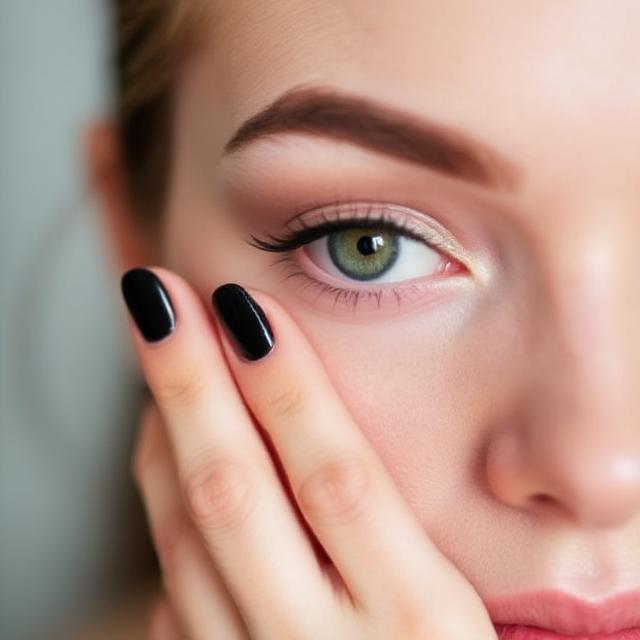
Before applying any eyeshadow or eyeliner, it’s crucial to prep your eyelids to ensure a smooth and long-lasting application. Start by using an eye primer to create a base that helps the makeup stay in place throughout the day or night. Eye primers prevent creasing and help enhance the vibrancy of your eyeshadow. Gently apply a thin layer of primer to your eyelids, from lash line to brow bone, using your ring finger for a light touch. This step also helps to even out any discoloration or redness on the eyelid. Allow the primer to set for a minute before moving on to the next step.
2. Apply a Neutral Base Shadow
The first eyeshadow layer you apply will act as a neutral base to help blend the darker shades later on. Choose a light, neutral eyeshadow shade like beige, soft taupe, or light brown. Using a fluffy eyeshadow brush, apply the base color evenly over the entire eyelid, from the lash line up to the brow bone. This will not only provide a smooth canvas for the smoky eye but will also help the darker shades blend seamlessly without harsh lines. The neutral base helps to create a gradient effect, making the smoky eye look more soft and blended.
3. Define the Crease with a Transition Shade
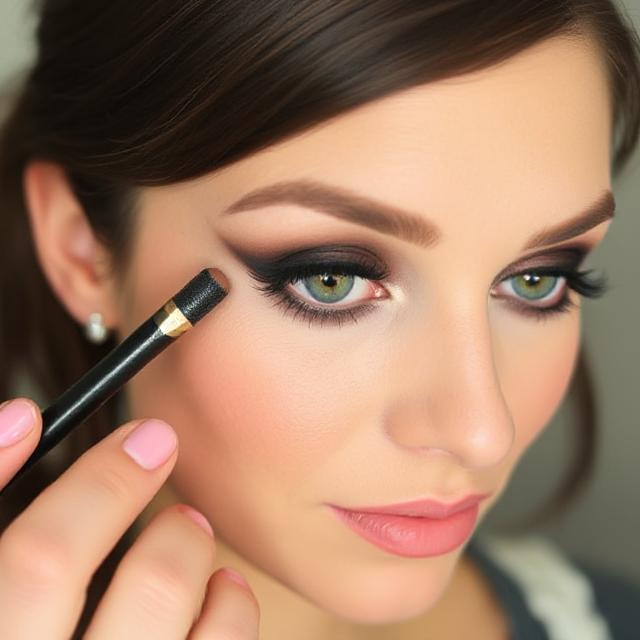
The key to achieving a beautiful, blended smoky eye is to use a transition shade to define the crease of the eyelid. Choose a medium-toned matte brown or warm taupe shade, and with a fluffy blending brush, apply it to the crease area. Start from the outer corner and work your way inward, using small, circular motions to blend the color into the natural crease of your eyelid. This transition shade helps to create depth and dimension and makes the darker colors you’re about to apply appear more seamless. Be sure to blend well to avoid any harsh lines.
4. Apply a Dark Eyeshadow to the Lid
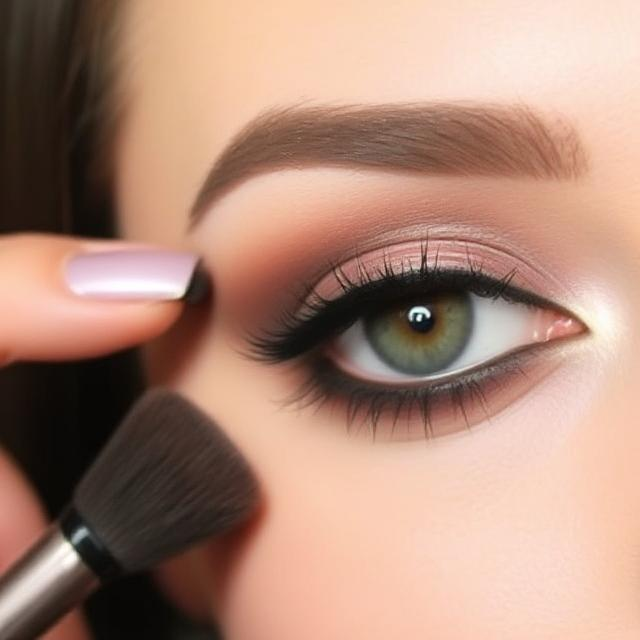
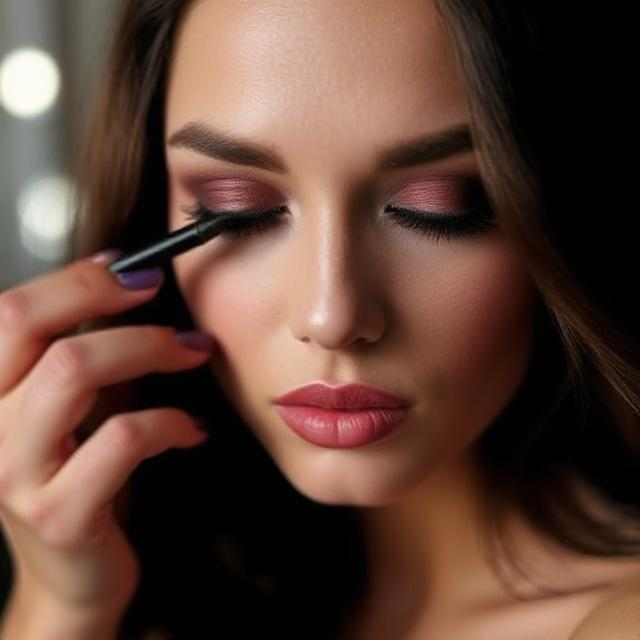
Now comes the fun part—adding the dark, smoky eyeshadow! For this step, choose a rich, dark shade like black, charcoal, or deep brown. Using a flat eyeshadow brush, pack the dark color onto your eyelid, focusing on the lash line and gradually blending upward into the crease. Be sure to apply the shadow in layers, building up the intensity slowly. Avoid placing the dark color too far above the crease, as it can overpower the eye shape. The goal is to keep the darkest part near the lashes and softly blend upwards for a smoky, gradient effect. Don’t worry if it’s not perfectly neat—smudging and blending will give the desired sultry look.

5. Smudge the Lower Lash Line
A smoky eye is incomplete without a smudged lower lash line, which adds to the sultry, smoky effect. Take a small, angled brush and dip it into the same dark eyeshadow you applied to the lid. Gently apply it to your lower lash line, starting from the outer corner and working your way towards the inner corner. You can also use a pencil eyeliner for this step if you prefer. Once the color is applied, use a clean, small blending brush to gently smudge the shadow along the lower lash line, creating a smoky, soft edge. The smudged lower lash line balances the intensity of the upper lid and enhances the dramatic effect of the smoky eye.
6. Add Some Highlight to the Inner Corner and Brow Bone
To brighten up the eyes and make the smoky eye look more polished, add a subtle highlight to the inner corner of the eye and the brow bone. Choose a light, shimmery eyeshadow or highlighter, such as champagne, pearl, or soft gold. Using a small, precise brush, apply the highlight to the inner corner of your eye to open up the eyes and give them a more awake appearance. Next, lightly apply the same highlight to the brow bone, right under the arch of your eyebrow. This step will lift the eye and create a beautiful contrast against the dark shadows, making your eyes appear larger and more defined.
7. Line and Define Your Eyes with Eyeliner
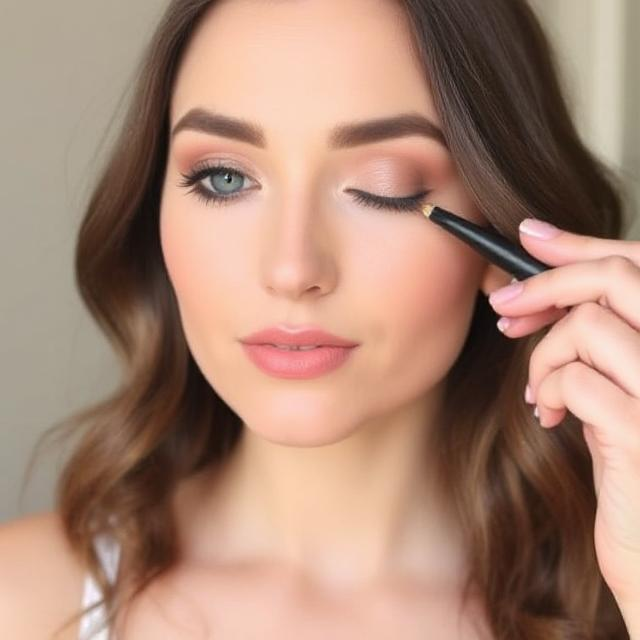
The final step to complete your smoky eye look is to define the eyes with eyeliner. You can use either a pencil, gel, or liquid eyeliner, depending on the intensity and finish you prefer. For a dramatic look, use a black or dark brown eyeliner to line your upper lash line, starting from the inner corner and working your way to the outer corner. Create a thicker line towards the outer corner for added drama. For the lower lash line, use the same eyeliner or a dark eyeshadow to line the lower waterline and smudge it out for a smoky effect. Finish by applying mascara to your top and bottom lashes to lengthen and volumize them, making your eyes pop.

Achieving the perfect smoky eye is all about blending, layering, and building up the intensity gradually. With these 7 simple steps, you can create a dramatic and sultry smoky eye that enhances your natural eye shape and makes your eyes the focal point of your makeup look. Whether you’re preparing for a special event or just want to elevate your everyday makeup, the smoky eye look never goes out of style. Experiment with different shades, textures, and finishes to personalize the look and make it your own. With a little practice, you’ll master the smoky eye technique and be ready to rock this bold, beautiful look every time.